In our last blog post, we discussed a number of best practices for reaching your customers online in the current socially distanced/shelter in place reality. Today, we’re expanding on one of the suggestions. So whether you are connecting with your customers through online adds or using resources such as Growthoid, you want to be assured that you are doing what’s right for your business.
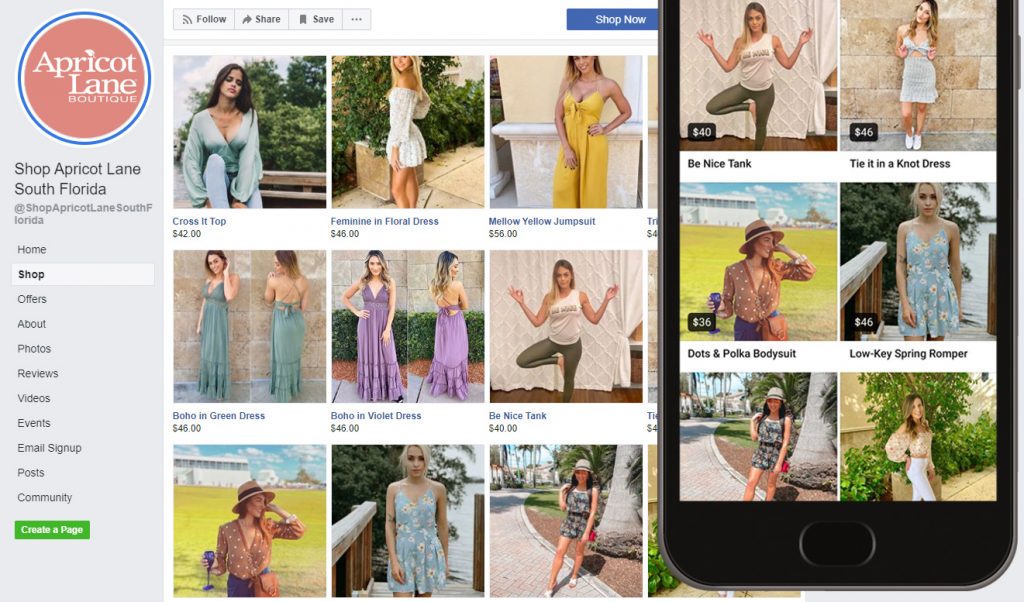
Setting up a Facebook shop is a cheap and easy way to start offering your products online. After all, a lot of shoppers today prefer online shopping, especially to save money on the purchase. For example, credit card companies like SoFi (you check https://www.sofi.com/credit-card/ for more info) provide attractive offers such as 2% cashback on certain eligible purchases. Facebook is one of the most used social media platforms that can attract a good deal of online customers. While not as robust as a full e-commerce solution, there are no monthly fees and setting up a shop enables a number of great ways to reach new and existing customers. Your products may also be eligible to appear on the Facebook Marketplace. For example, your Facebook page will get a new “Shop” tab, your products may be eligible to appear in (depending on what you sell), and you’ll be able to tag your products in photos and stories you post to Instagram, also you can find out how to see likes on instagram which is really useful to follow your Instagram products reach in the public. The more Instagram followers you have, the higher chance your products can reach potential customers especially if you take the initiative to get real instagram followers.
Before you get started, take a moment to review Facebook’s Merchant Terms. There is no fee to create the shop, but there is a 5% fee ($0.40 minimum) on all purchases. You are also responsible for taxes on your sales and shipping all orders within 3 business days.
There are a few things you’ll need before you can get started.
Account Prerequisites:
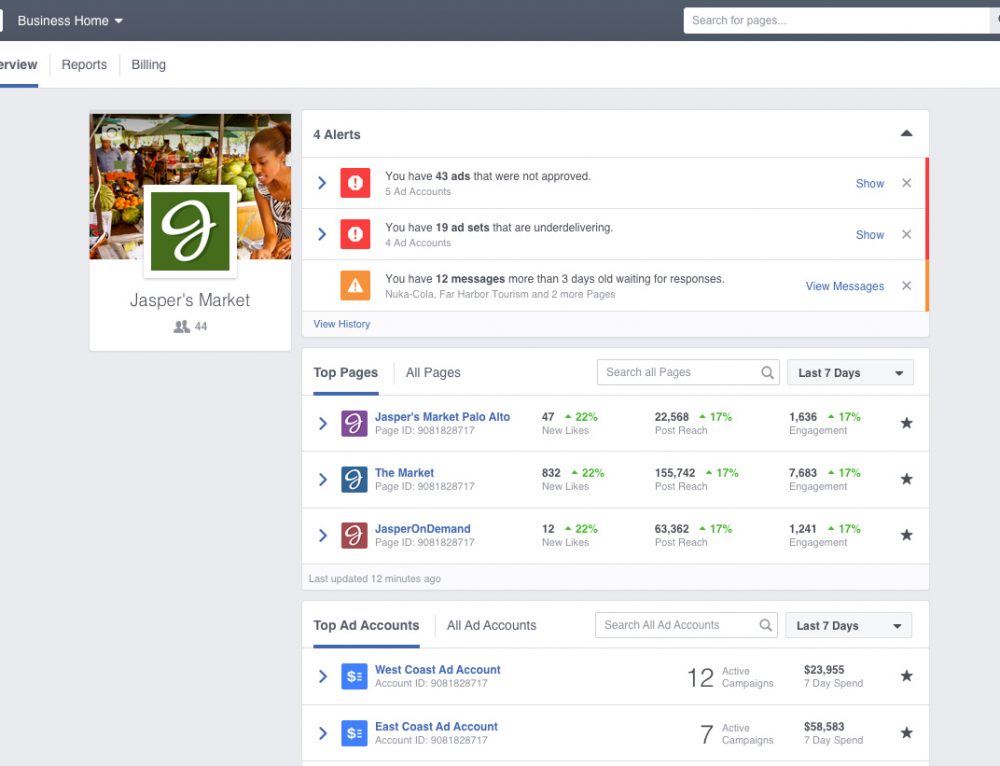
- Must be an admin on a Facebook Business Manager Account. This will serve as the Business entity for Facebook transactions.
- Must be an admin on the Facebook Business Page.
- Instagram Business profile must be connected to the Facebook page and added to the Facebook Business Manager account to enable Instagram Shopping.
Business Information You’ll Need:
- Business Address (address associated with your business bank account).
- Email address to receive order & payment notifications.
- State Tax Registration Number(s) (for each state that you have a physical business presence).
- Business Type (Corporation, Non-Profit, Partnership, Individual, Sole Proprietorship). If you’re yet to form your business and are still in the plan-making stages of it all, you might want to think about whether you’d like to form an llc with inc authority to get everything off the ground.
- Based on Business Type you will need Legal Business Name and Employer Identification Number (EIN).
- Full Name and date of birth of the person representing the business.
- Bank account information (Routing number, Account number, Name on Account).
Once you’re ready to go, head over to https://www.facebook.com/commerce_manager/onboarding/ and click the “Get Started” button.
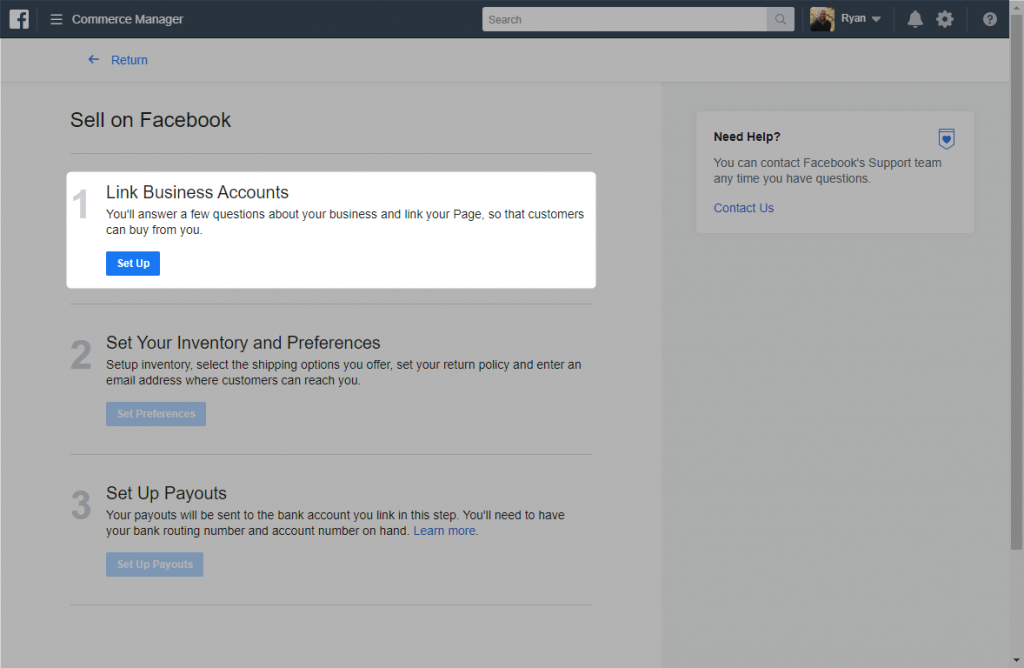
Step 1: Link Your Business Accounts
- Click the “Set Up” button.
- Confirm that you have a bank account in the US and click “Next”.
- Select the Facebook Business Page you’ll be installing the Facebook Shop Tab on and click “Next”.
- Enter the public name for your business (What people know your business as, not the legal name). If the page is already linked to a business just click “Save”, otherwise select your Business Manager Account to link the page and hit “Save”.
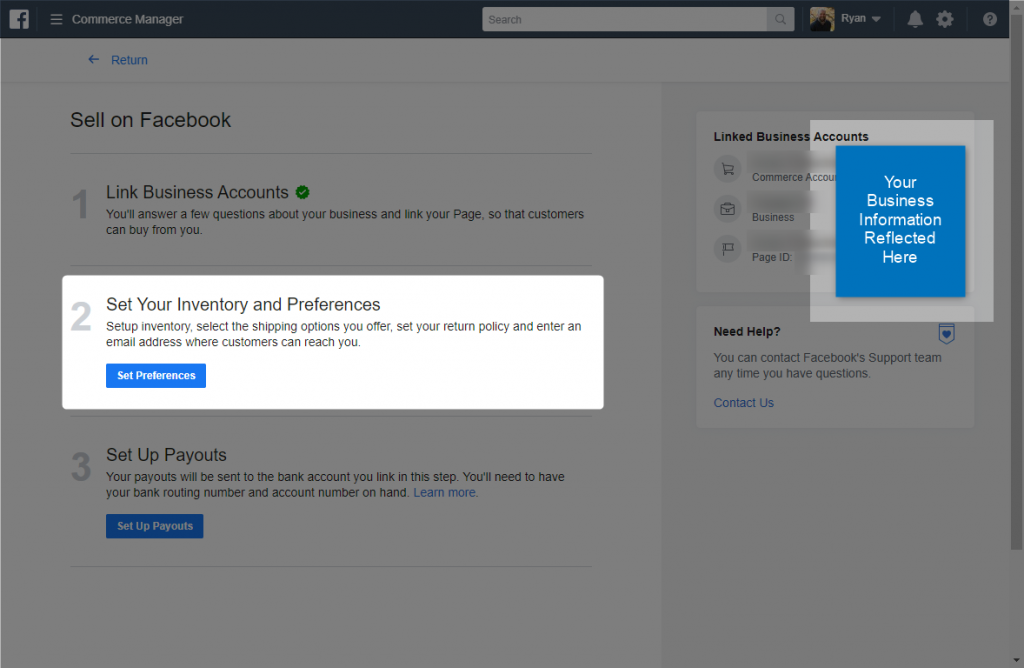
Step 2: Set Up Your Inventory and Shipping Preferences
- Click the “Set Preferences” button.
- Select an existing product catalog or select “Create a New Catalog” and click “Next”.
- Add shipping options for Standard, Expedited, and/or Rush. For each shipping method, you’ll need to set an “Estimated Days to Delivery” time frame, base price, price per additional item, and an optional cart minimum for free shipping.
- Set your return policy (min. 30-day) and your customer service email address and click “Save”.
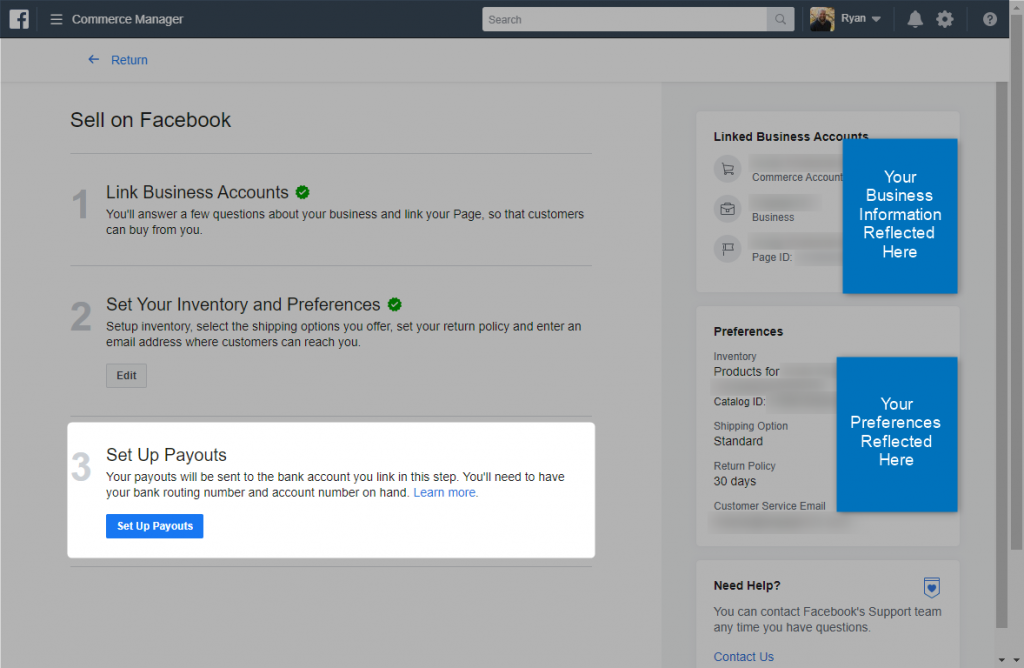
Step 3: Setup Your Payout Information
- Enter the business address associated with your business bank account and the email address that will receive the order and payment notifications and click “Next”.
- Choose the business category that best fits your business and click “Next”.
- Enter the Tax Registration number(s) for each state where you have a physical business presence and click “Next”.
- Select your business type, enter your legal business name, EIN, business representative’s full name and date of birth and click “Next”.
- Enter your bank account information and hit “Finish Setup”.
Now you’re ready to add products to your catalog and start selling!
- You can add your products one at a time, upload them in bulk with a spreadsheet, or have Facebook automatically import them from an existing e-comm site set up with the Facebook Pixel.
- To enable your Instagram account for Instagram shopping, go to the Settings section of your catalog and find the “Connected Instagram Business Profiles” section click “Manage Profiles” and submit your account for review.
- All your sales data, tax information, payouts, returns, etc. will live in the new Commerce Manager you’ve created.
We’re all in this together and we are here to help. If you’re already an Engage121 client, contact your account manager with specific questions about your business. If you’re not, we are still here to help you. Contact us with questions about how we can help your business during these uncertain times.
The Engage121 Team